Instant System Rollbacks with Btrfs Subvolumes and Snapper
Learn how to structure btrfs subvolumes and snapper on Linux for automated snapshots and instant system rollbacks after broken updates.
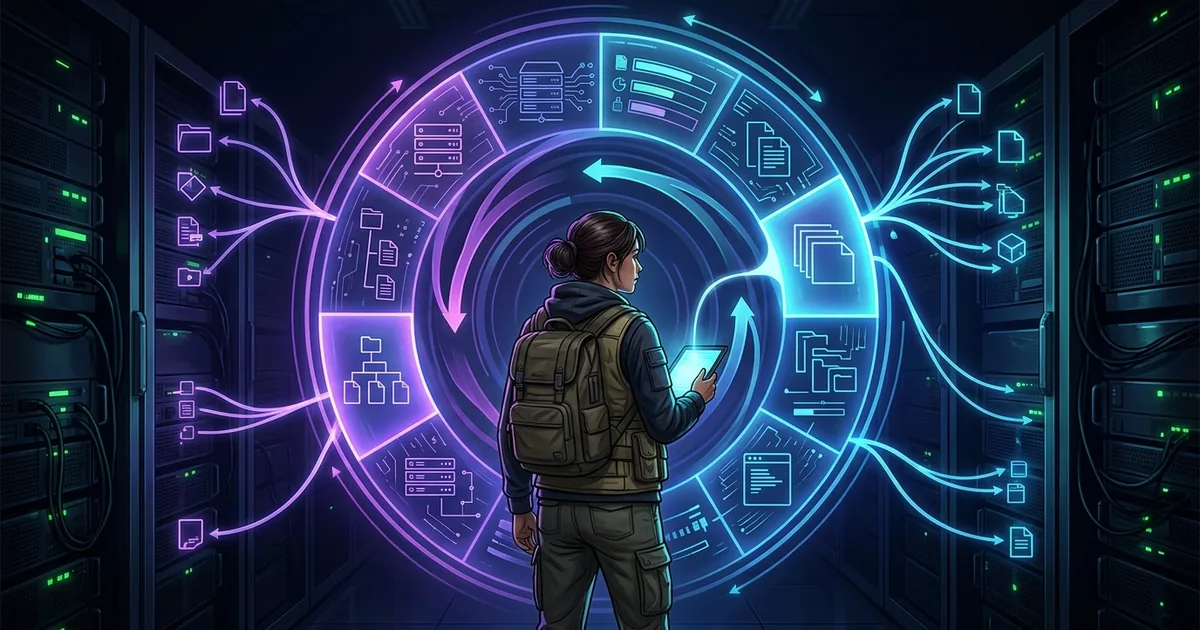
Setting up btrfs subvolumes and snapper on Linux is your best defense against bad updates, failing drivers, and broken system upgrades. When updating critical packages on modern distros like Debian 13.7 or Ubuntu 26.04.1, any kernel or system module inconsistency can prevent your system from booting. Instead of reaching for live rescue USBs or spending hours reinstalling, configuring Btrfs properly allows you to roll back the entire operating system to a known good state in seconds.
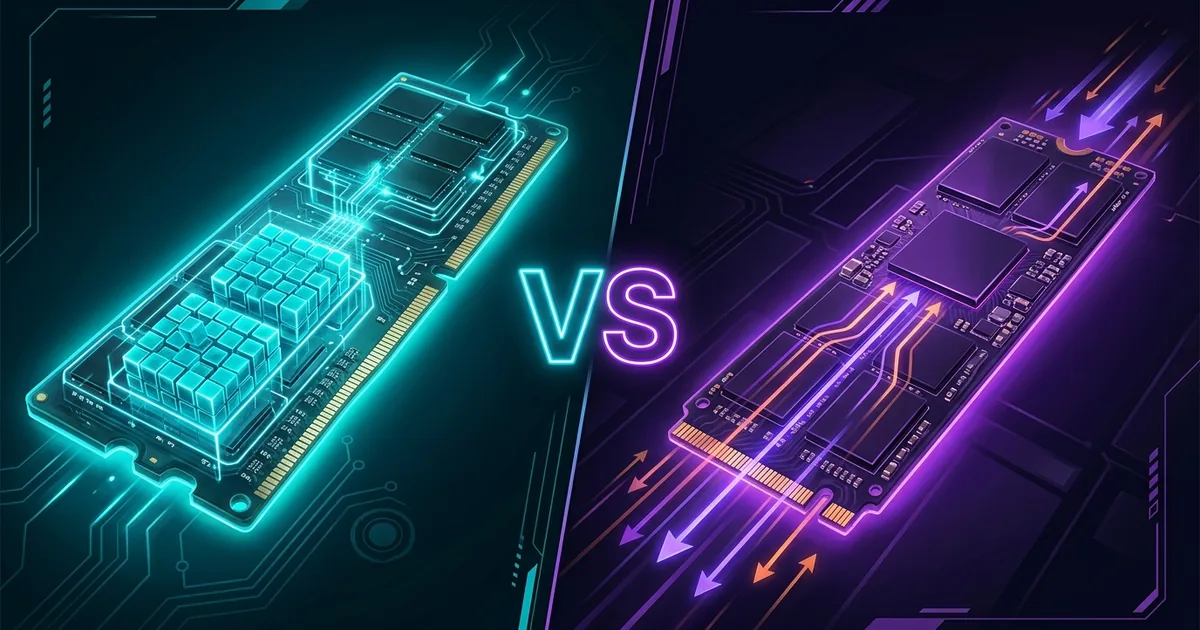
What sets Btrfs apart from traditional filesystems like ext4 is its native Copy-On-Write (COW) architecture. When a file is modified, Btrfs does not overwrite existing disk blocks; instead, it writes new data to free space and updates the filesystem tree pointers. This means creating a snapshot is simply taking a point-in-time reference of these pointers. The process happens instantaneously and consumes zero additional space at creation time.
However, creating snapshots without planning your subvolume topology leads to serious traps. If your root partition contains directories like /home, /var/log, or /var/lib/libvirt without proper isolation, rolling back root will wipe out recent user documents, audit logs, and virtual machine images. In this guide, we will design an optimal subvolume topology and automate state backups using Snapper.
Why does the default installer layout break system rollbacks?
Most graphical Linux installers create an overly simplistic subvolume layout—usually limited to a @ subvolume for root and a @home subvolume for user directories. While this separation keeps personal files separate from system files, it fails miserably when you need to perform a full system rollback using automated tools like Snapper.
The main issue with nested or simplistic layouts is volatile state pollution. When you restore the system root to a snapshot taken two days ago, everything written to the system directory gets overwritten. If directories like /var/log, /var/cache, or /var/tmp reside inside the root subvolume @, you lose the precise debugging history needed to diagnose why the system broke in the first place.
Another critical concern involves package manager state databases and container runtimes. If /var/lib/docker or /var/lib/flatpak sits inside the root subvolume without being isolated, restoring root creates a severe desynchronization between registered container images and the actual files on disk. Snapper requires a flat subvolume layout to operate efficiently, where each independent state directory gets its own subvolume mounted at boot time.
Finally, the directory where Snapper stores its metadata and snapshots—located at /.snapshots—cannot reside inside the root subvolume @. If /.snapshots is inside @, rolling back @ to an older snapshot overwrites the snapshot directory itself with an older version, destroying all snapshots taken between that point in time and the present. The fix is making /.snapshots an independent Btrfs subvolume.
How to organize btrfs subvolumes and snapper for instant rollbacks?
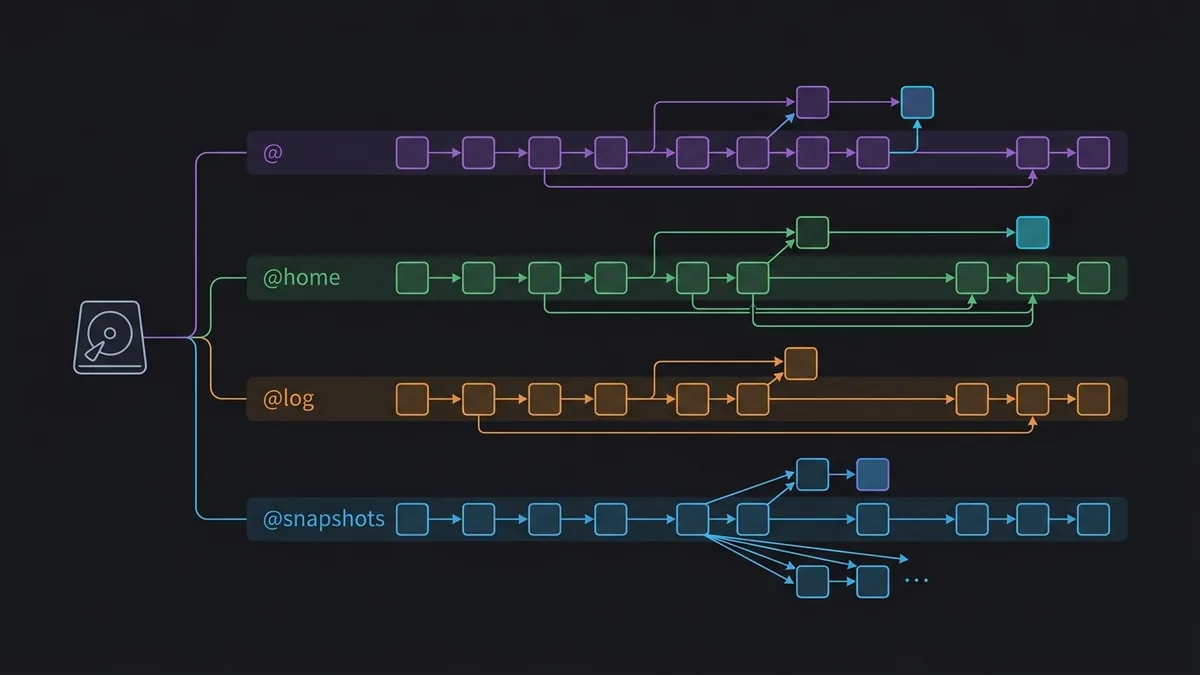
To guarantee that rollbacks work seamlessly without collateral damage, we must adopt a flat subvolume layout. In this design, all subvolumes are created directly at the root of the Btrfs filesystem (top-level subvolume ID 5) and mounted individually into the distro's directory tree during boot via /etc/fstab.
Here is the recommended subvolume structure for a resilient setup:
@: Subvolume mounted at/(system root).@home: Subvolume mounted at/hometo preserve user data.@snapshots: Subvolume mounted at/.snapshotsto hold the snapshot tree managed by Snapper.@log: Subvolume mounted at/var/logto maintain system log integrity across rollbacks.@cache: Subvolume mounted at/var/cacheto prevent re-downloading package repository caches.@tmp: Subvolume mounted at/var/tmpto isolate long-running temporary files.
By keeping these directories separated, any rollback operation exclusively targets system executables, libraries in /usr, configuration files in /etc, and the kernel in /boot. User data and system logs remain untouched.
The table below summarizes the roles and behavior of each subvolume during a system restore:
| Subvolume | Mount Point | Behavior During Rollback |
|---|---|---|
@ |
/ |
Fully reverted to the selected snapshot state |
@home |
/home |
Preserved intact, retaining user files and configurations |
@log |
/var/log |
Preserved intact, allowing post-failure analysis in journald |
@cache |
/var/cache |
Preserved intact, preventing package cache sync issues |
@snapshots |
/.snapshots |
Preserved intact, maintaining Snapper retention history |
Step-by-step: How to create the subvolume layout in the terminal?
If you are performing a clean installation or restructuring a secondary drive from the command line, create the subvolumes right after formatting the partition with Btrfs. Assuming your target partition is /dev/sda2, start by mounting the top-level subvolume (ID 5) to a temporary directory like /mnt.
Open a root terminal and run the subvolume creation commands in sequence:
mount /dev/sda2 /mnt

btrfs subvolume create /mnt/@
btrfs subvolume create /mnt/@home
btrfs subvolume create /mnt/@snapshots
btrfs subvolume create /mnt/@log
btrfs subvolume create /mnt/@cache
btrfs subvolume create /mnt/@tmp

umount /mnt
With the subvolumes created, mount the directory tree before installing the OS or migrating files. First, mount the root subvolume @ to /mnt and create mount points for the remaining subvolumes:
mount -o noatime,compress=zstd:1,space_cache=v2,subvol=@ /dev/sda2 /mnt

mkdir -p /mnt/{home,.snapshots,var/log,var/cache,var/tmp}

mount -o noatime,compress=zstd:1,space_cache=v2,subvol=@home /dev/sda2 /mnt/home
mount -o noatime,compress=zstd:1,space_cache=v2,subvol=@snapshots /dev/sda2 /mnt/.snapshots
mount -o noatime,compress=zstd:1,space_cache=v2,subvol=@log /dev/sda2 /mnt/var/log
mount -o noatime,compress=zstd:1,space_cache=v2,subvol=@cache /dev/sda2 /mnt/var/cache
mount -o noatime,compress=zstd:1,space_cache=v2,subvol=@tmp /dev/sda2 /mnt/var/tmp
Notice the recommended mount options for Btrfs on modern SSDs and NVMe drives. compress=zstd:1 enables real-time transparent compression with minimal CPU overhead, saving disk space and extending flash storage lifespan. The noatime option eliminates unnecessary metadata write operations on file reads.
To ensure the system mounts this structure automatically on every boot, edit /etc/fstab on the installed target, mapping UUIDs and subvolumes correctly:
UUID=4a2b3c4d-1234-5678-9abc-def012345678 /              btrfs subvol=@,noatime,compress=zstd:1,space_cache=v2 0 0
UUID=4a2b3c4d-1234-5678-9abc-def012345678 /home          btrfs subvol=@home,noatime,compress=zstd:1,space_cache=v2 0 0
UUID=4a2b3c4d-1234-5678-9abc-def012345678 /.snapshots    btrfs subvol=@snapshots,noatime,compress=zstd:1,space_cache=v2 0 0
UUID=4a2b3c4d-1234-5678-9abc-def012345678 /var/log       btrfs subvol=@log,noatime,compress=zstd:1,space_cache=v2 0 0
UUID=4a2b3c4d-1234-5678-9abc-def012345678 /var/cache     btrfs subvol=@cache,noatime,compress=zstd:1,space_cache=v2 0 0
UUID=4a2b3c4d-1234-5678-9abc-def012345678 /var/tmp       btrfs subvol=@tmp,noatime,compress=zstd:1,space_cache=v2 0 0
How to configure Snapper and disable root snapshotting?
Snapper is the official snapshot management utility maintained by SUSE for Btrfs. It lets you automate periodic retention schedules (hourly, daily, monthly) and take automatic pre- and post-snapshots around package manager transactions (such as apt or zypper).
After installing the snapper package on your distro, attempting to create the default root configuration immediately will throw an error if /.snapshots already exists as a mount point. Snapper's default command tries to create its own subvolume inside that folder, breaking our flat layout.
To bypass this behavior and force Snapper to use our @snapshots subvolume, run this sequence in your terminal:
umount /.snapshots
rmdir /.snapshots

snapper -c root create-config /

btrfs subvolume delete /.snapshots
mkdir /.snapshots

mount -a
chmod 750 /.snapshots
This workflow registers the root profile configuration with Snapper while discarding the nested subvolume it tried to create, remounting the @snapshots subvolume defined in /etc/fstab.
Next, tune the retention policy to prevent snapshots from filling up disk space over time. Open the profile config at /etc/snapper/configs/root and adjust the numerical limits as shown below:
SUBVOLUME="/"
FSTYPE="btrfs"

ALLOW_GROUPS="wheel sudo"
NUMBER_CLEANUP="yes"
NUMBER_LIMIT="10"
NUMBER_LIMIT_IMPORTANT="5"

TIMELINE_CREATE="yes"
TIMELINE_CLEANUP="yes"

TIMELINE_LIMIT_HOURLY="5"
TIMELINE_LIMIT_DAILY="7"
TIMELINE_LIMIT_WEEKLY="4"
TIMELINE_LIMIT_MONTHLY="12"
TIMELINE_LIMIT_YEARLY="0"
This policy keeps 10 package transaction snapshots, 5 hourly snapshots for recent hours, 7 daily snapshots for the past week, and 4 weekly snapshots for the past month. It provides an optimal balance for workstations and production servers.
Finally, enable the systemd timers so Snapper takes automated snapshots in the background:
systemctl enable --now snapper-timeline.timer snapper-cleanup.timer
How to integrate grub-btrfs to boot directly into snapshots?
Automated snapshots are useless if a Kernel Panic or display server crash prevents you from accessing a working shell. The solution is grub-btrfs, a daemon that reads Snapper's snapshot list and dynamically generates GRUB boot menu entries.
When grub-btrfs is running, the GRUB bootloader displays a submenu listing all available snapshots. You can pick any point in time and boot directly into a read-only environment to verify stability before committing to a rollback.
To enable automatic GRUB menu updates whenever Snapper creates a new snapshot, install the package and start the monitoring service via systemd:
systemctl enable --now grub-btrfsd.service
If you need to recover from a failed system update, the full production rollback process requires just two steps:
- Reboot your machine and select the desired snapshot from the GRUB sub-menu.
- Once booted into the read-only snapshot shell or desktop environment, open a terminal and run Snapper's rollback command:
snapper rollback
The snapper rollback command detects the booted snapshot, sets it as the new default Btrfs root subvolume, and moves the broken root into a backup snapshot. On the next reboot, your system starts up in standard read-write mode with full functionality restored.
Conclusion
Setting up btrfs subvolumes and snapper fundamentally changes how you manage and maintain Linux systems. Combining a flat subvolume layout with automated snapshots allows developers and sysadmins to test new drivers, kernel builds, and package updates without the fear of breaking their system.
By isolating critical directories like /home and /var/log from the root subvolume, you protect your personal files and log history during recovery operations. Adding grub-btrfs completes the safeguard, providing a bootable recovery menu that saves your installation from catastrophic boot failures.