Build Clean, Scalable Code with a Godot 4 State Machine
Learn how to build a modular godot 4 state machine in GDScript. Eliminate nested IF statements, organize animations, and write scalable game code.

Building gameplay mechanics without a solid structure is a direct recipe for massive, unmaintainable scripts. When a character needs to walk, jump, dash, attack, and take damage, beginners often stack dozens of boolean variables and conditional statements inside the _process or _physics_process method. As your project grows, tweaking jump behavior ends up breaking your dash or locking up your attack. To solve this complexity cleanly, implementing a godot 4 state machine is the most efficient and sustainable architectural design pattern.
A Finite State Machine (FSM) isolates each behavior into its own self-contained logic. A player cannot attack and dash simultaneously if those behaviors belong to mutually exclusive states. In this practical tutorial, you will learn how to build a flexible system in Godot 4.7.2 using object-oriented, node-based GDScript, keeping your code clean, scalable, and immune to spaghetti code.
Why Avoid Spaghetti Code from Nested IF Statements in GDScript?
Early in prototype development, checking player states with conditional statements seems harmless enough. Simple code checking is_on_floor() to allow jumping works fine in your first few hours of work. The problem hits when game design asks for new mechanics.
Consider how cyclomatic complexity skyrockets when adding a double jump, wall slide, and a cooldown-based attack animation. With simple conditional structures, every single render frame must evaluate a tangled mess of checks like if is_on_floor() and not is_attacking and is_dashing. The pitfalls of this monolithic approach include:
- Ghost state bugs: The character plays running animations while falling off a cliff because a boolean variable wasn't reset at the right moment.
- Debugging headaches: Tracking down which condition failed across dozens of nested
if/elseblocks drains hours of debugging sessions. - Tightly coupled code: Adjusting movement physics requires editing an 800-line script that handles audio, collisions, and inventory all at once.
By adopting the State pattern, each state becomes an autonomous entity with a single responsibility. The jump state handles vertical impulse and transitioning to falling; the attack state exclusively manages damage hitboxes and animation timing.
How to Build a Godot 4 State Machine from Scratch?
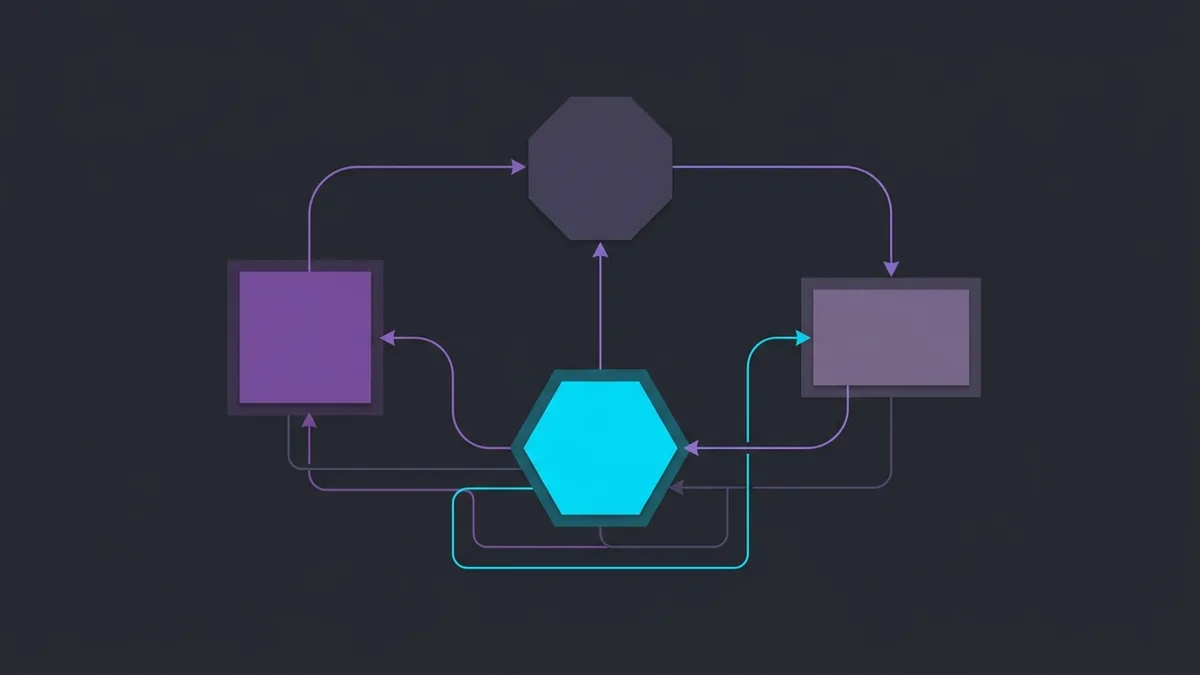
To implement this clean architecture in Godot 4.7.2, we take advantage of the engine's built-in node hierarchy. The main idea is to have a core manager node (StateMachine) and multiple child nodes, where each child node represents a concrete state inheriting from a base class (State).
First, create the base script state.gd. It serves as the abstract interface for all game states. No game-specific logic goes here—only lifecycle method definitions:
class_name State
extends Node

signal transitioned(state_script: State, new_state_name: String)

func enter() -> void:
    pass

func exit() -> void:
    pass

func update(_delta: float) -> void:
    pass

func physics_update(_delta: float) -> void:
    pass

func handle_input(_event: InputEvent) -> void:
    pass
Notice the class_name State declaration, allowing any node in Godot to recognize this data type. The transitioned signal is emitted by an individual state when it decides to switch to another state, passing the target state's name as a parameter.
Next, create the main manager script, state_machine.gd. This node tracks which state is currently active and delegates engine lifecycle events (_process, _physics_process, _unhandled_input) strictly to the active state:
class_name StateMachine
extends Node

@export var initial_state: State

var current_state: State
var states: Dictionary = {}

func _ready() -> void:
    await owner.ready
    for child in get_children():
        if child is State:
            states[child.name.to_lower()] = child
            child.transitioned.connect(_on_child_transitioned)

    if initial_state:
        initial_state.enter()
        current_state = initial_state

func _process(delta: float) -> void:
    if current_state:
        current_state.update(delta)

func _physics_process(delta: float) -> void:
    if current_state:
        current_state.physics_update(delta)

func _unhandled_input(event: InputEvent) -> void:
    if current_state:
        current_state.handle_input(event)

func _on_child_transitioned(state: State, new_state_name: String) -> void:
    if state != current_state:
        return

    var new_state: State = states.get(new_state_name.to_lower())
    if not new_state:
        push_error("Estado não encontrado: " + new_state_name)
        return

    if current_state:
        current_state.exit()

    new_state.enter()
    current_state = new_state
This approach guarantees total decoupling. The StateMachine node does not need to know what each state does in detail; it simply manages which state is in control each frame.
How to Structure Nodes and Scripts in the Scene Tree in Godot 4.7.2?
Structuring this inside the Godot 4 editor is straightforward and visual. We will use a CharacterBody2D player node as an example of a controlled entity.
The scene tree hierarchy in the node panel should be organized like this:
- Player (
CharacterBody2D) - CollisionShape2D
- Sprite2D
- AnimationPlayer
- StateMachine (
Node)- Idle (
Nodewith scriptplayer_idle_state.gd) - Move (
Nodewith scriptplayer_move_state.gd) - Jump (
Nodewith scriptplayer_jump_state.gd)
- Idle (
Now let's look at how a concrete state is written in GDScript. Below is the code for player_idle_state.gd:
extends State

@export var player: CharacterBody2D
@export var animation_player: AnimationPlayer

func enter() -> void:
    if animation_player:
        animation_player.play("idle")

func physics_update(_delta: float) -> void:
    if not player.is_on_floor():
        transitioned.emit(self, "jump")
        return

    var input_dir := Input.get_axis("ui_left", "ui_right")
    if input_dir != 0:
        transitioned.emit(self, "move")

func handle_input(event: InputEvent) -> void:
    if event.is_action_pressed("ui_accept") and player.is_on_floor():
        transitioned.emit(self, "jump")
And here is the movement state in player_move_state.gd:
extends State

@export var player: CharacterBody2D
@export var animation_player: AnimationPlayer
@export var move_speed: float = 200.0

func enter() -> void:
    if animation_player:
        animation_player.play("walk")

func physics_update(delta: float) -> void:
    if not player.is_on_floor():
        transitioned.emit(self, "jump")
        return

    var input_dir := Input.get_axis("ui_left", "ui_right")
    if input_dir == 0:
        transitioned.emit(self, "idle")
        return

    player.velocity.x = input_dir * move_speed
    player.move_and_slide()
Notice how clean this structure is. When the player moves, the Move state applies velocity and calls move_and_slide(). When keyboard input stops, the state itself emits a signal to transition back to Idle. Each file stays under 40 lines and does exactly one job.
How to Manage Complex State Transitions and Pass Data Between States?
As your game grows in complexity, basic finite state machines may need to share context or handle temporary transitions. Here are three core techniques used in commercial game development:
| Technique | Ideal Application | Primary Advantage |
|---|---|---|
| Classic FSM | Basic movement (Walk, Run, Jump) | Simplicity and straightforward logic isolation |
| Pushdown Automaton | Pause menus, hitstun effects | Returns to the exact previous state without losing context |
| Hierarchical FSM (HFSM) | Complex enemies and combat mechanics | Shares common logic (e.g., airborne state) across sub-states |
To pass specific payload data during a transition—such as hit severity or a knockback vector—expand the base script's enter method to accept an optional dictionary of arguments:
# In the base script State.gd
func enter(_msg: Dictionary = {}) -> void:
    pass
In the damage state (player_hurt_state.gd), you can process the payload as soon as the character enters the state:
extends State

@export var player: CharacterBody2D
var knockback_vector: Vector2 = Vector2.ZERO

func enter(msg: Dictionary = {}) -> void:
    if msg.has("knockback"):
        knockback_vector = msg["knockback"]
        player.velocity = knockback_vector

func physics_update(delta: float) -> void:
    player.velocity = player.velocity.move_toward(Vector2.ZERO, 500 * delta)
    player.move_and_slide()
    if player.velocity.length() < 10.0:
        transitioned.emit(self, "idle")
When emitting the transition signal inside your manager, simply pass the extra dictionary. This eliminates relying on static global variables for one-off event communication.
How to Debug and Test State Transitions During Gameplay?

Working with state machines makes troubleshooting significantly easier because you always know which state is active. However, in fast-paced action games, transitions happen in fractions of a second.
A great habit during development is adding a simple Label UI node above your character to display the current state in real time. You can hook up label updates directly inside the StateMachine transition event:
# Inside state_machine.gd for debugging purposes
@export var debug_label: Label

func _on_child_transitioned(state: State, new_state_name: String) -> void:
    # ... existing transition logic ...
    if debug_label:
        debug_label.text = new_state.name
When testing your game in the preview window, keep an eye out for these common traps:
- Infinite transition loops: Occurs when State A transitions to State B inside
enter(), and State B immediately transitions back to State A on the same frame. Add warning logs in_on_child_transitionedto trace high-frequency swaps. - Forgetting to disconnect signal connections: If your state connects to external signals (like a cooldown timer), disconnect them inside
exit()to prevent obsolete events from triggering after the state deactivates. - Accidentally disabled nodes: Ensure the
process_modeproperty on your state machine nodes respects game pause behavior when pausing the scene.
Conclusion
Implementing a modular, node-driven godot 4 state machine is the most solid architectural choice for keeping your game project organized and bug-free. By splitting responsibilities into lightweight scripts derived from the base State class, adding new mechanics, adjusting animations, and refactoring behavior becomes fast and safe. Apply this design pattern to your next player controller or enemy AI, and experience the clarity of clean GDScript architecture.